Page 1 of 8

My 1996 Grand Cherokee 4L Laredo

Posted: Sat Nov 19, 2011 11:59 am
by Richard Moss

Posted: Sat Nov 19, 2011 12:00 pm
by Richard Moss
Sept 18 2011:

Unfortunately, having had to work over part of the weekend, I am not quite as far along as I'd hoped. Still, one major job has been done - CV boots.

The design is quite clever - basically a FWD type driveshaft, running up the middle of the axle tube to the differential. It doesn't need an inner CV joint because the splined end of the shaft slots into the diff (like on the back end of a live-axle car such as an MGB or TR7).

The offending items looked like this. You can see that the torn one was full of dirt which I washed out using carb cleaner before regreasing.:
Image
Image

Doing the job is much like the front of a FWD car - brakes off is step one. However, the Jeep axle has a clever design that allows the brake caliper AND disc to be removed without having to remove the caliper carrier:
Image

The workshop manual talks about dismantling the front hub and bearings, balljoints and so on and I did some of that before realising that there was an easier way. The hub is held in with 3 bolts and if you remove them you can slide out the hub, brake dustshield, CV joint and half-shaft as one unit.
Image
Image

Then the old boot can be removed, grease cleaned out, new grease pushed in and a new boot fitted.
Image
Image

I then found that the boot-securing band fouled the axle, so it had to be removed and a heavy duty cable tie was fitted AFTER the shaft was back in.
Image

The missing ARB droplink bolt was replaced, along with new bushes (they need to be removed, though, to fit a couple of washers). Steering and front end control are dramatically improved!
Image

There was a grease nipple under all this - so that was cleaned up and the joint regreased, along with about 5 or 6 others
Image

Just about ready for the roadworthiness test now.

Posted: Sat Nov 19, 2011 12:05 pm
by Richard Moss
Oct 01 2011:

I did a bit more work on this today and made some progress in some areas, less in others.

On the negative side, I took out the heater controls to find out why the temp control goes round and round without coming up against the stops. The answer was: it's buggered. The temp control is via a rotary potentiometer and that had collapsed and was (I think) telling the heater to go full hot and recirculate all the time. So a "new" one is one the way - but until then, the system is still broken (hence the lack of progress).

On the plus side, this may explain why the heater matrix has been bypassed - when the control unit has been replaced, I'll reconnect the matrix and try it out.

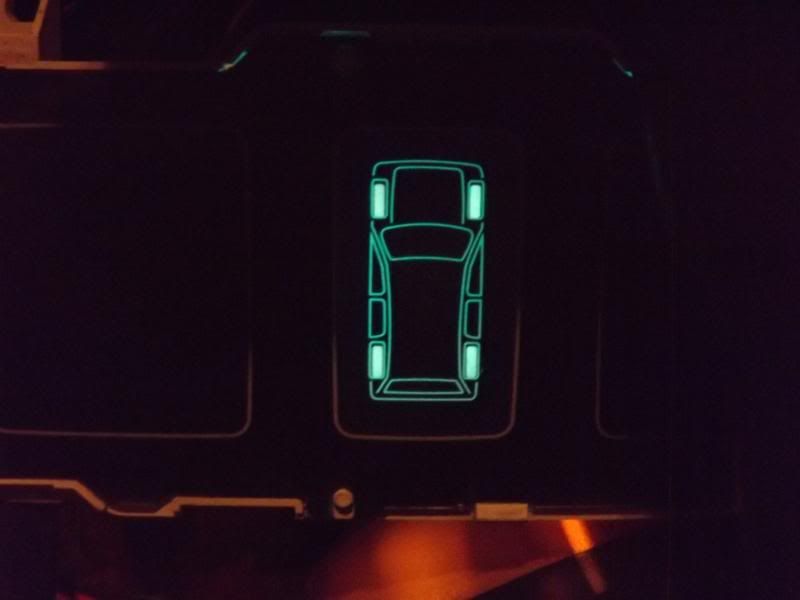
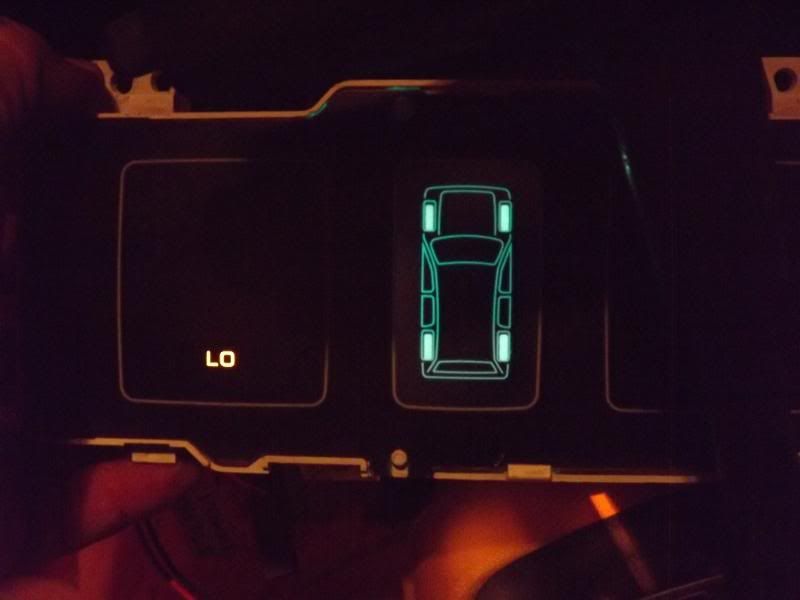
Also on the plus side, I bought an overhead console with trip computer from Ebay USA for 1cent, plus postage. That still made it cheap and even better, most of the wiring is in place already in for the trip computer - because the engine management system and CANBUS process and output all the required data. I had to run 3 wires from the existing "vehicle information centre" (like the mk1 827 VCM) and splice the lights into the existing loom.

I now have 4 overhead map/dome lights (instead of 2), somewhere to store sunglasses, a trip computer which gives fuel consumption, journey time, distance to empty, elapsed time and a compass! When I install the outside air temp sensor (on order at $16) I will also have the most useful info of all.

I've taken pictures but it's too late to put them up now.

I think I have a solution to my front doors failing to unlock on the central locking. It appears to be some sort of fault inside the combined latch/central locking mechanism. I could spend forever trying to fix it or spend a fortune on new latches but instead I bought a AED45 retro-fit central locking kit from the local Lulu supermarket and I should be able to use two of the four solenoids from that to operate the mechanical latches.

Oct 02 2011:

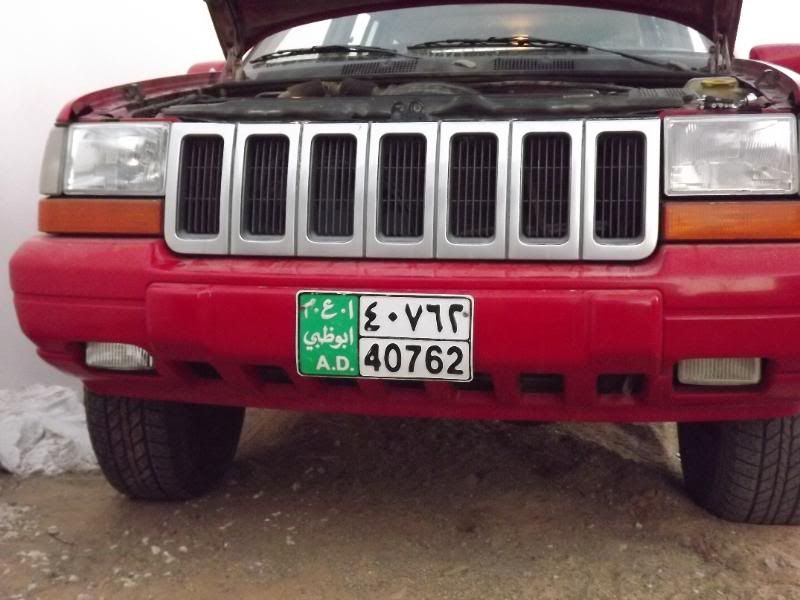
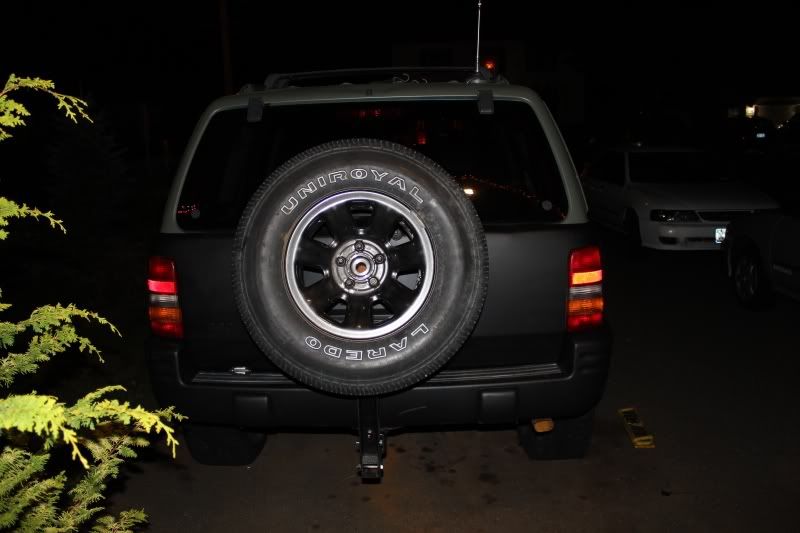
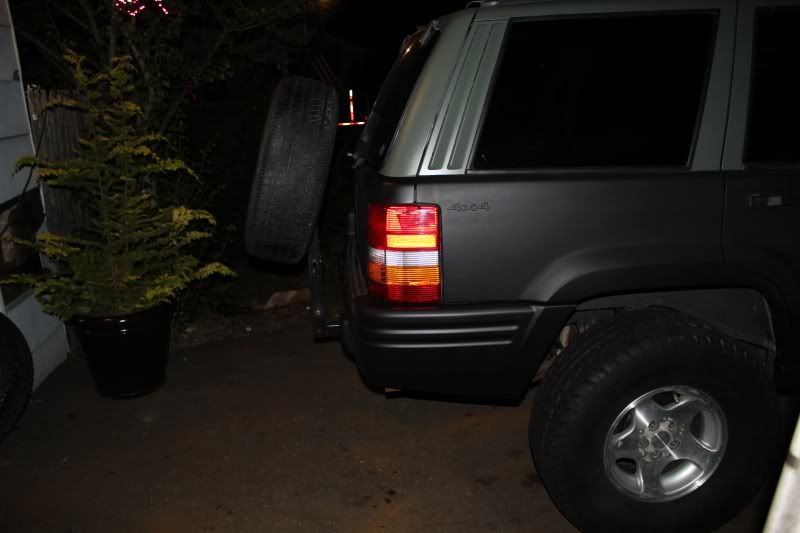
According to my handbook, the GC here has 15" wheels only. Of course, it may be different for later models.

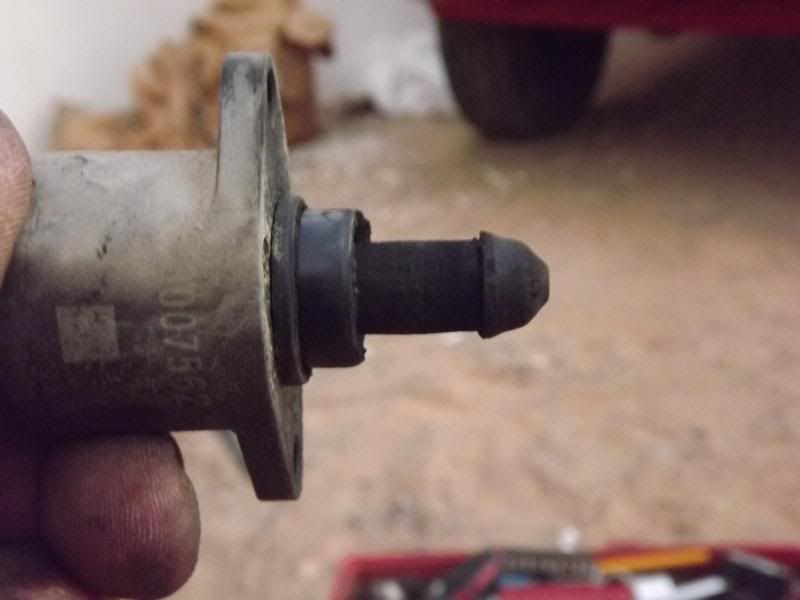
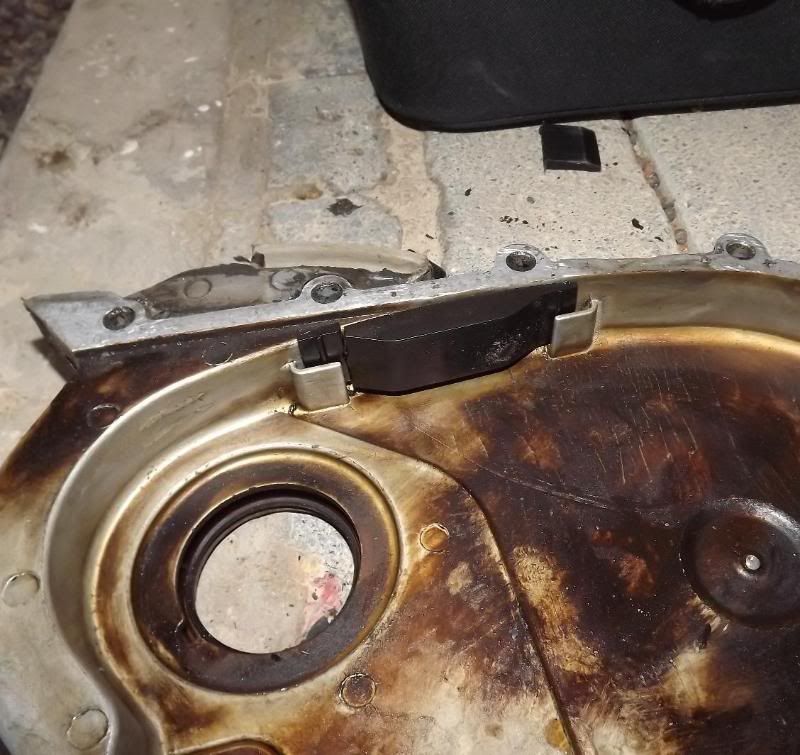
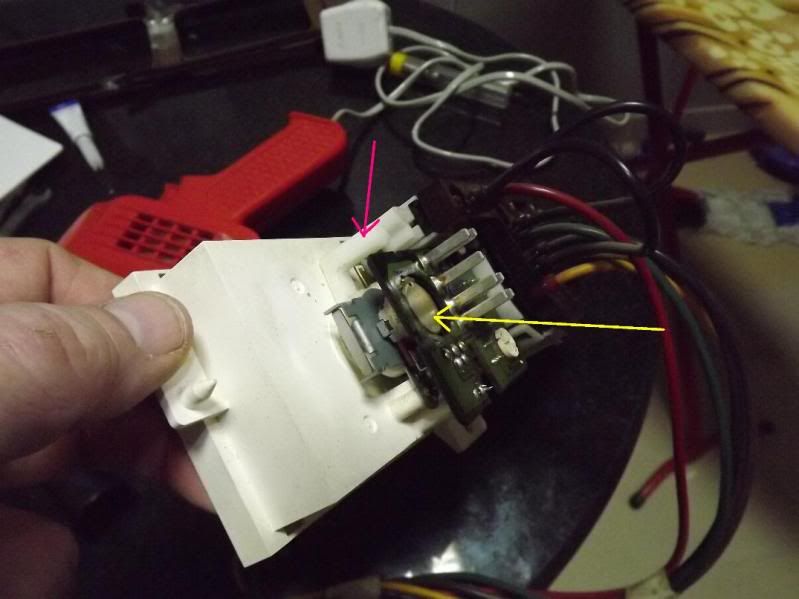
Here is a pic of the heater controls showing the potentiometer that broke, messing up the temp control (yellow arrow) and the lever that snapped and obviously caused some problem but I don't know what (pink arrow). I tried fixing both but no joy so a replacement heater control box is on the way.

Image

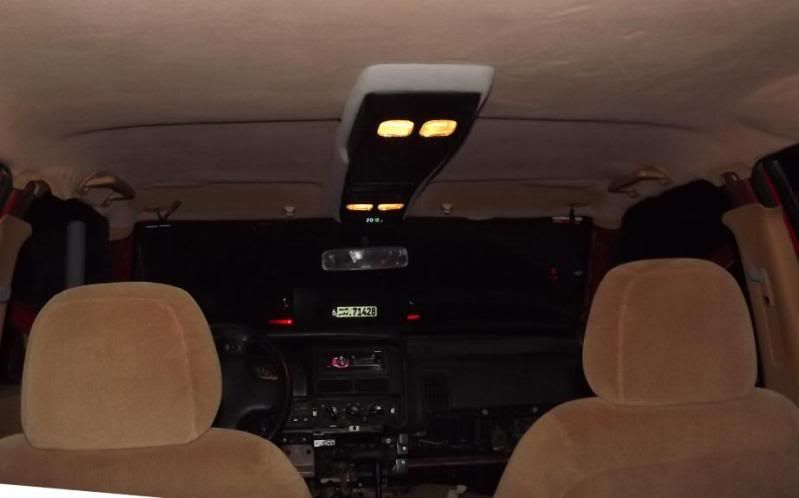
This is the roof console - I know that it's grey and does not match the caramac-coloured headliner, but the headliner will need to be recovered soon so either the console will be changed to match the headliner or vice versa.
Image

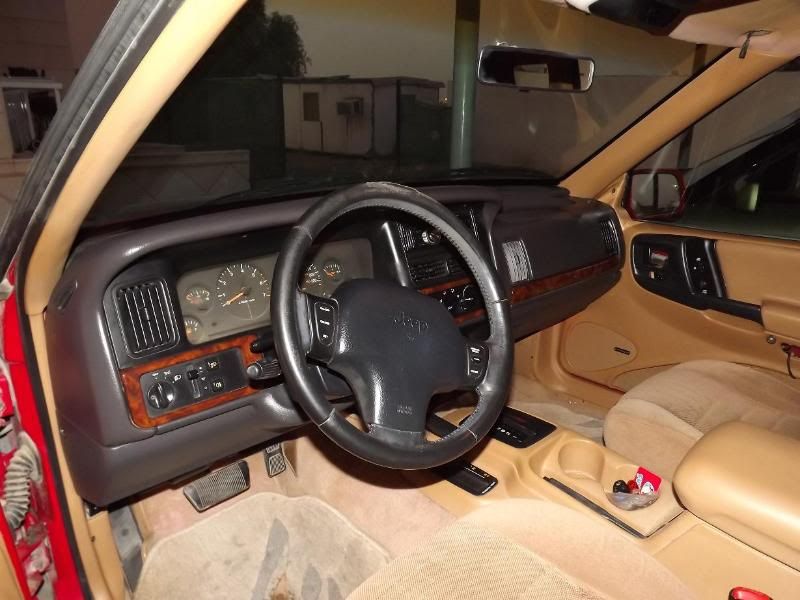
This is the interior part way through fiddling with the heater and doing the wiring for the trip computer. It's not as bad as it looks, honest.
Image

Posted: Sat Nov 19, 2011 12:08 pm
by Richard Moss
Oct 05 2011:

I forgot to put up a picture of the new headlights, so when I also replaced the missing foglight last night I decided to kill two birds with one stone.
Image
Image

I also changed the distributor cap, rotor arm and spark plugs but forgot to buy new leads so will try to do that tomorrow. I also cleaned the idle air valve - these get gunked up and cause erratic idling and as you can see, it was gunked up! It's nice and clean now, though (although I forgot to take a photo of that).
Image

Most of the bulbs in the Vehicle Information Centre had blown - so I replaced these. This, though, is the most useless thing that you can imagine because it just lights up to show you which wheels have "drive". Sounds good until you think that the two options are 1) permanent 4 wheel drive and 2) Neutral. However, I think that if it was in Neutral, I might be able to tell WITHOUT the aid of the VIC!
Image

To be fair, it does also tell me if I'm in Low ratio.
Image

Oct 08 2011:

Yesterday the Jeep got new plug leads, along with the last of the six new copper core spark plugs, and the idle seems to be smoother now. I couldn't change that last plug until I had new leads handy as the old lead was falling apart.

I had hoped to do an oil change on both differentials today as well as changing both rear ARB droplinks (precautionary move) but as usual, my plans were slightly altered by events. I did manage to change the front differential oil and unfortunately found quite a lot of metal particles in there. I have no idea how old the oil is but it did look suspiciously like ATF in there rather than gear oil (red rather than gold coloured).

I carefully drained all the oil and used a can of carb cleaner to get it really clean inside. The gear faces on the diff and pinion look OK so hopefully it's just very old oil - or at worst, the axle shaft bearings as they are relatively easy to replace. I have put new oil of the correct grade in there and will check it in a few thousand km to see what's what. Changing the rear becomes a priority now!

Whilst under the car I found water dripping on my head and it looks like the water pump has sprung a leak. That's a bit of a nuisance because it would have been really easy to replace whilst the radiator was out (and in hindsight I should have done that as a precautionary measure). On the plus side, as an eternal pessimist, I had already ordered a new pump and it should be here tomorrow or the next day.

Not one of the better days! The rear anti-roll bar droplinks didn't get done, either!

My replacement heater control panel is winging its way across the Atlantic at the moment and I also won a climate control panel on ebay for 1 Cent - I'm hoping to be able to convert my standard aircon into a partial climate control system - at least with automatic temperature control if not with automatic air distribution.

Posted: Sat Nov 19, 2011 12:09 pm
by Richard Moss
Oct 09 2011:

A box of bits (including water pump) arrived today. One other item in there was the ambient air temperature sensor that is used by the VIC and trip computer. Slotted straight in and worked perfectly - showing 34C at about 6.30pm.

When I get a towbar fitted, I'm tempted to make up one of these external wheel carriers as the boot loses a lot of space to the spare. It would be removable and I'd only use it when I really needed the boot space but it's quite a neat idea - although I'd have it sitting lower down so that it didn't obscure too much of the rear window. The photos are from http://www.jeepforum.com/forum

Image
Image
Image
Image

Posted: Sat Nov 19, 2011 12:13 pm
by Richard Moss
Oct 11 2011:

I had a first proper look at the heater control panel that I bought and discovered that it's a slightly different design. The electrical connectors are the same but the construction of the box is different and so are the vacuum connectors. I'll have to spend a bit of time working it all out or try to get the correct one.

Oct 15 2011:

I had a slightly frustrating day yesterday.

I had a water leak from around the area of the water pump and so I got hold of a new pump, thermostat and gaskets and fitted them to the car. The old ones were, it has to be said, about as bad as I can ever remember seeing.

Image
Image

The thermostat housing was badly corroded, too.
Image

I cleaned up all the rust, goo, knackered gaskets etc and it all went together well. However, whilst the pump and stat appear to be water tight I am still getting a drip from the bottom, front corner of the block by the bottom of the timing chain cover. So I'll going to have to pull that cover off to see where the water is coming from.

Image
Image

From what I can see there are no obvious weak spots there (such as core plugs) so there is a chance that there is some sort of breach in the water jacket that will have to be dealt with. Hopefully it will be fixable.......perhaps with some sealant or Chemical Metal or JB Weld.

This is the sensor for the outside air temperature - it's hidden by the grille when that's in place.
Image

Posted: Sat Nov 19, 2011 12:15 pm
by Richard Moss
Oct 14 2011:

A bit more progress.

I finally managed to remove the crank pulley/harmonic damper which REALLY put up a fight despite using the right type of puller. A ten minute job turned into 1 1/2 hours! This gives me a better view of the area and I can see that it looks like water is seeping out of one or two of the bolt holes at the top of the timing cover, diverted down the side of the cover by accumulated grease and grime and then dripping off the bottom of the block. Judging from the staining, it's been doing this for a while. The area under the pump now looks dry, because I cleaned up the grot and the water is now running down the front of the cover.

I ran out of time to remove the cover and as I have to help a friend with a job on her Chevy Astro van tomorrow evening, I may not get to look at this again until wednesday. In the meantime, the very dirty cover has been sprayed with degreaser and will be cleaned up properly before removal.

I'm expecting to find that someone has used over-long bolts and/or over-tightened them and broken through to the water jacket. I'm hoping that some sealer will fix it up. I'll also check out the timing chain whilst in there and swap that if necessary.

Oct 19 2011:

I think I've got to the bottom of it now - or should I say the top?

The water appeared to be coming from behind the timing cover or at least from the area around the join of the two so I pulled the cover off but could find no sign of a leak. What I did find was that the chain guide/tensioner had broken and had dropped into the bottom of the cover yet had somehow managed to avoid getting caught up in the chain and doing some damage (although I'm sure that it would just have been a matter of time). For reference the second shot shows where it should be fitted.

Image
Image

So, add new "tensioner/guide" to the shopping list.

Then, whilst cleaning off the old gaskets, I found the actual cause of the leak - a pinhole in the (rusty) heater return pipe that attaches to the water pump. I'd refitted the old pipe to the new pump - mistakenly, as it turns out! Somehow, the water had been tracking down the side of the pump unseen, only coming into view lower down. So, remove the pump and add "heater return pipe" to the list.

Image

Whilst at it, I thought I'd play safe and do some more future proofing. I've no idea how old the hoses are so "bottom radiator hose" joined the list. Then I thought I'd see if my favourite parts shop could provide a new "thermostat housing/water outlet" so that went on the list too, along with the requisite gaskets.

More in hope than expectation, I set off to the shop this evening and..................they had it all in stock! The purchase prices are about the same as I would pay over the internet from the USA but I saved the shipping costs and got it immediately. RESULT!

I'm in a good mood tonight and aim to start putting it back together tomorrow.

Posted: Sat Nov 19, 2011 12:24 pm
by Richard Moss
Oct 21 2011:

Well it's all back together and everything appears to be good. It's still just got plain water in there at the moment but that will be drained tomorrow and a proper anti-freeze solution put in instead.

I have now replaced all of the cooling system apart from the top radiator hose, heater hoses and heater matrix. They can wait for a while!

Oct 23 2011:

Well, I've used it for two days and nothing has fallen off yet.................

I bought some new side lights and indicators to brighten up the front. the old ones were yellowed, stained and cracked. The new ones were an absolute bargain from http://www.rockauto.com and have freshened up the front end noticeably. The orange section is just a reflector and the wrap-round lower section is the indicator, with orange bulbs fitted.

Image
Image

Here's how it was
Image

The interior got a bit of a clean, too, although the worn-through leather on the steering wheel lets it down. It's on the "to do" list........
Image

Posted: Sat Nov 19, 2011 12:27 pm
by Richard Moss
-------------------------

Posted: Sat Nov 19, 2011 12:30 pm
by Richard Moss
--------------------------------