My 1996 Grand Cherokee 4L Laredo

Ask questions or share info that applies across makes or models, things of general off-road interest.
Ri
Richard Moss
Rank: Junior

Thu Nov 15, 2012 12:27 am

January 30th 2012:

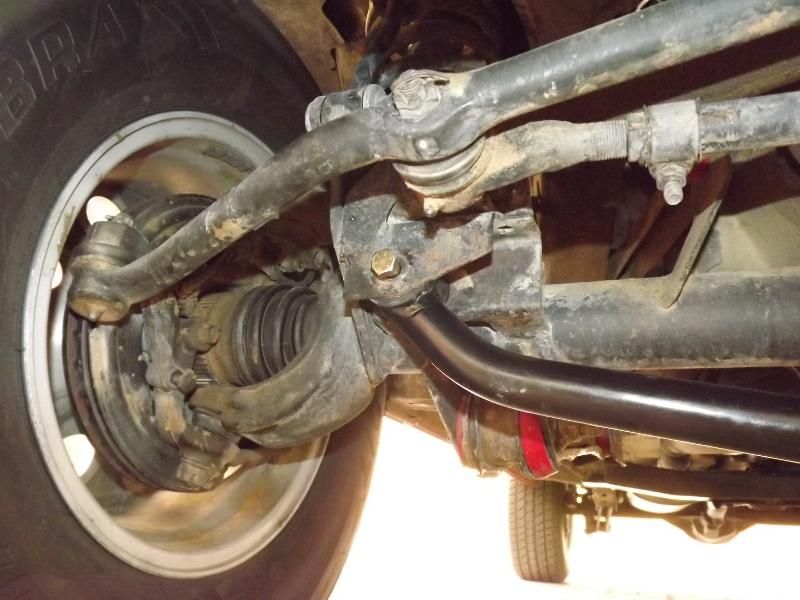
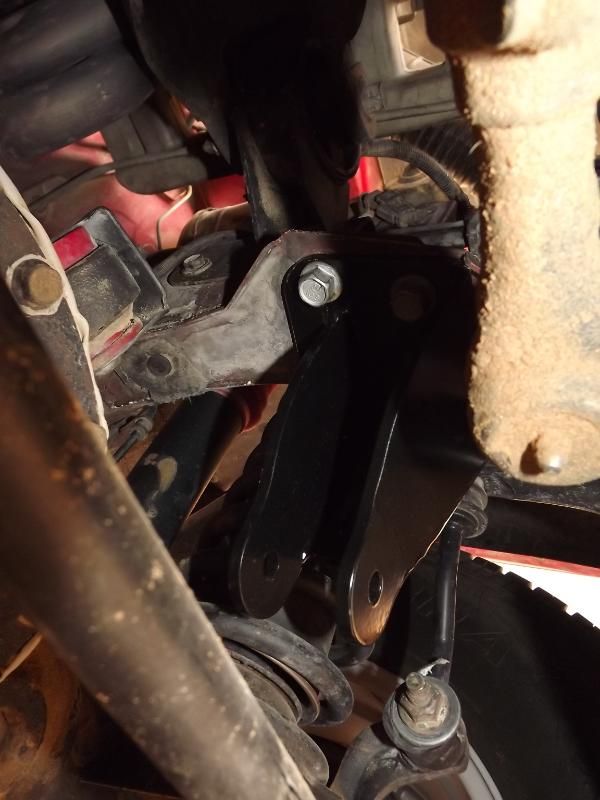
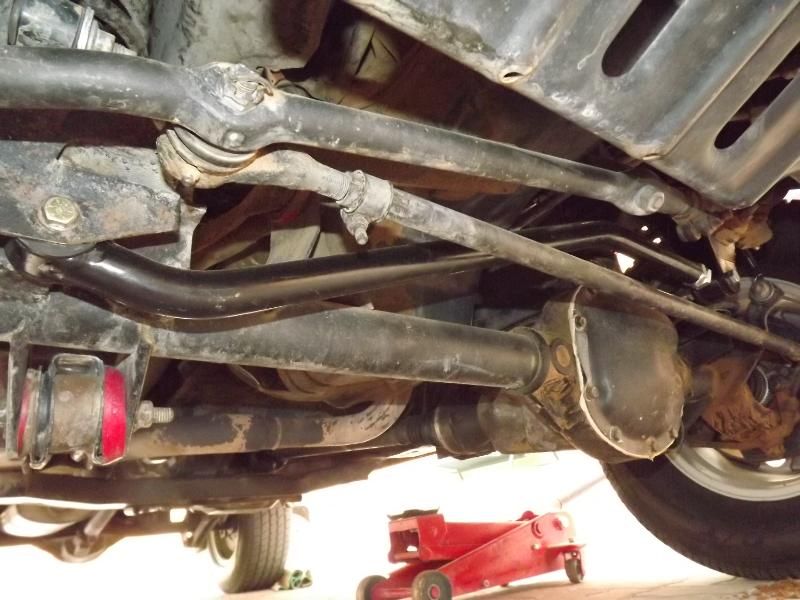
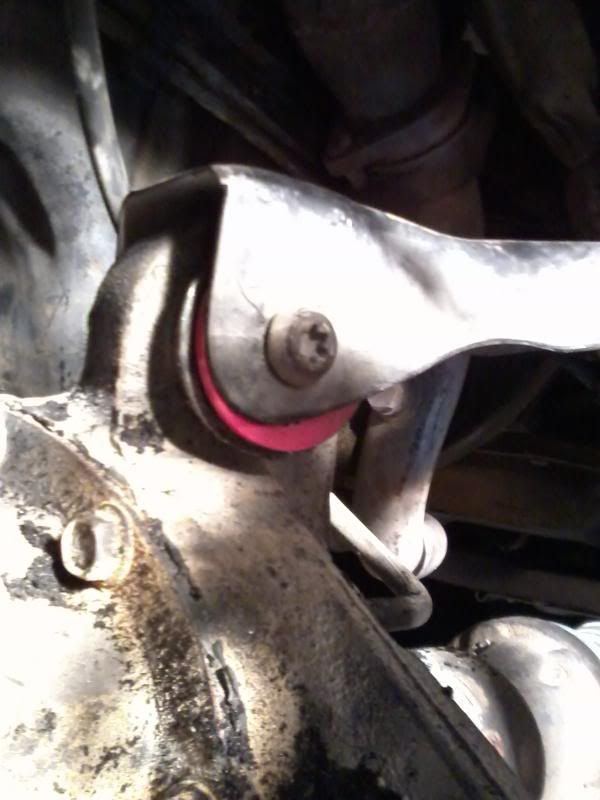
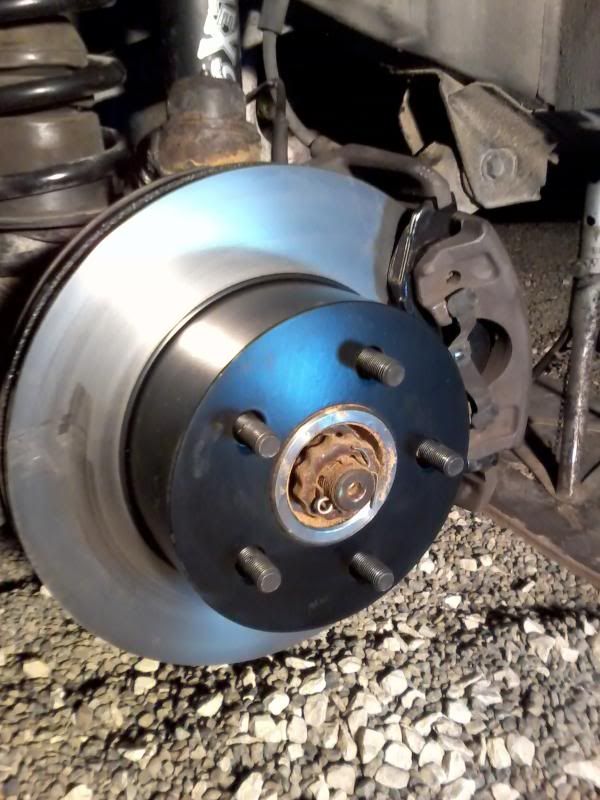
I managed to get most of the front polybushes fitted last weekend - a bit of a job as you have to drill out the old rubber bushes and reuse the metal sleeves (that means burning out the remaining bits of rubber with a blowtorch!). Still, job done and the front end feels more secure now, and is quieter than with the old, worn out bushes. Of course, there's something else now - a worn balljoint on the track bar (which controls the axle's left/right movement) so that's another trip to the parts shop to come later. Whilst I had the front end in bits, I fitted new brake discs and pads and these make a significant difference - I think that the old pads may have been a bit glazed.

Image
Image

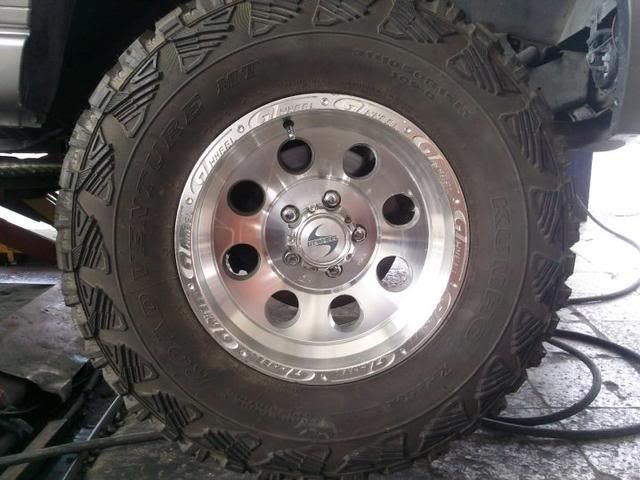
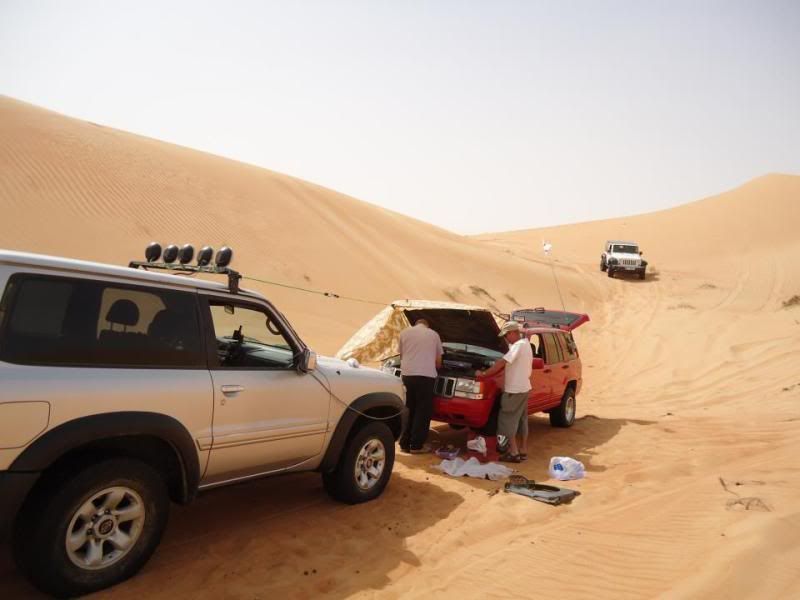
On the last off-road trip I managed to hit a rock and damage the rim of one of the alloy wheels. I didn't see this until I was doing the bushes, so happy co-incidence there! Ironically, the damage wasn't done whilst really off-road but whilst driving down an access track which had a few random lumps of limestone scattered around.
Image

Being an alloy wheel I'm not comfortable with the idea of bashing it back into shape, so I took the opportunity to buy a good second hand set of 4 of these "GT" alloys and that means that I'll swap my tyres over and use on of the original Jeep alloys as the spare. The picture isn't mine, it's just to show the type of wheel.
Image
Ri
Richard Moss
Rank: Junior

Thu Nov 15, 2012 12:27 am

Ri
Richard Moss
Rank: Junior

Thu Nov 15, 2012 12:29 am

February 17th 2012:
I bought a Speedview headup display unit at Christmas because the speedo on my Jeep reads about 10% too fast. I could probably have fixed the speedo but I like gadgets and this was reasonably cheap. http://www.speedview.co/

Having checked out the wiring diagrams, I decided that the easiest way to run the wiring down to the Vehicle Speed Sensor (VSS) would be to drop it down through the transmission tunnel near the autobox shifter. For ease of access I decided to remove the centre console and then drilled a hole down through the transmission cover plate between the autobox shifter and the transfer box shifter. I pushed a wire through there to connect to the vehicle speed sensor output wire and used insulating tape to protect it from chafing (not shown).
Image

I spliced my newly fitted wire into the VSS output, insulated it, taped it up and then used cable ties to secure it to the existing loom above the transmission, out of the way of the linkages and driveshafts.
Image

Back inside, I removed the lower trim panel was removed (crosshead screws marked with yellow dots)
Image

I placed the display unit on top of the dash and ran its connector lead down the gap between the dash and A-pillar and then through a convenient gap into the space below the dash.
Image
Image

The power leads were connected to the back of the cigarette lighter. The ignition was switched on and the display illuminated nicely.
Image
Image

I took a quick test drive to check that the system worked - and it did. My standard speedo over reads by 10% but interestingly enough, the Speedview unit appears to read correctly (ie. 80 on the speedo = 72 on the Speedview) - I'll cross-check it with the satnav when I get a chance. That tells me that the error is in the instrument or the Powertrain Control Module (ECU) that processes the VSS output rather than the sensor. The installation will be finished off in the next day or two because I ran out of time to secure the display unit to the dash or to fit the display screen to my windscreen. Pictures to follow.

All in all, it was reasonably straightforward and took a couple of hours - half of that time was spent on working out what to do, rather than doing it. I'm happy!

February 24th 2012:
We had a "failure to proceed" on friday. Whilst about 2/3 of the way through a GPS navigation exercise, I came up to the crest of a dune to find that the water pump had blown. The bearing had failed and wrecked the seal and the whole thing was shaking itself to pieces. We stopped, noted the GPS co-ordinates and decided to leave the car there overnight, continuing as passengers in friends cars. We went back this morning in a 2-car "convoy" (never less than 2 cars on a desert drive), armed with a new water pump which I bought this morning. About one hour after arriving at the site we were on our way!

The really frustrating thing was that I fitted that water pump just 4,000km ago. Possibly faulty bearings, maybe an overtightened drive belt.

Repairs underway
Image

Gratuitous photo from thursday :)
Image
Ri
Richard Moss
Rank: Junior

Thu Nov 15, 2012 12:30 am

Ri
Richard Moss
Rank: Junior

Thu Nov 15, 2012 12:30 am

October 3rd 2012:
The electric cooling fan conversion turned out to be a bit of a disaster! The wiring etc was fine but the generic cooling fan I bought was simply not up to the job and the ZJ overheated badly when off-roading 2 weeks ago. It blew out most of its water and I thought I'd knackered the engine. However, after letting it cool for a while, I refilled the water and drove home with no further incident.

The next day I invested in a new viscous clutch for the mechanical fan and refitted that. Apparently, if the clutch gets tired, the fan doesn't move as much air as it should. I bought a new, genuine Jeep heavy duty one and fitted that, along with a new radiator cap because the old one turned out to be 15psi instead of 16psi. After an oil change to replace the burnt stuff from the sump I started using it on road and the temperature was better controlled than at any time since I bought it. A through pasting on the dunes also revealed no problems - but I did make a couple of additional mods before hitting the sand. It looks as if these super-tough iron inline 6s really do deserve their reputation.

The new trackbar is fitted and whilst i really can't tell if there is any improvement in handling, it is a lot more robust than the old one and should last better. It's certainly much more solidly built.
Image
Image
Image

I also fitted some air cooling ducts to the bonnet. These were just cheap, Chinese fake ducts (with no actual vents in them!) designed for "styling" use but were easily modified. My trusty ALDI Dremmel-copy was used with a cutting disc to open out the slots and they were then painted red and left to dry over night. The next day I set to work on the bonnet, also with the mini cutter. First I removed the underbonnet insulation to give free access to the parts of the bonnet that did not have reinforcing beams. I measured - twice - and then measured again and covered the relevant area with masking tape before drawing round the vents. Then came the nerve wracking part as I cut out the holes in the bonnet panel. After drilling securing holes, the vents were bolted down and the net result is pretty tidy. They really work, too, because even at idle I can feel a stream of hot air exiting from them, pushed out by the cooling fan.

Image
Image
Image
Image
Image
Image

I finally got around to fitting most of the poly bushes in the rear suspension and the rear end now feels much better located. As for the long therm plans, I still really haven't made up my mind. My XJ Cherokee is now my primary off-roader but I shall probably have to get rid of either this ZJ or my 2001 WJ V8. Both have their attractions and in an ideal world I'd keep both, but that's unnecessarily expensive (and time consuming). At the moment, I am leaning towards keeping the WJ as a family car, the XJ as an off-roader and selling this ZJ.
Ri
Richard Moss
Rank: Junior

Thu Nov 15, 2012 12:33 am

I've edited these posts a bit, but after doing so I realised that the flow of replies from other users has been messed up - so that may make the thread look a little disjointed. Sorry, I should have thought about it before doing it!
XJ 4.6 Stroker
Rank: Junior
Location: Al Ain
Posts: 70
Joined: Wed Oct 06, 2010 3:30 pm

Fri Nov 16, 2012 3:42 pm

Looks like you've been a busy boy Richard. ;) Eat, sleep, Jeep. It's a balanced way of life. :D
I've done a few bits n' bobs on my own Jeep this year including:

Replaced the handbrake mechanism (the button on the old one flew off) - found a good used one from Al Rabeea scrapyard
Replaced tailgate lift struts
Replaced AC o-rings
Replaced water pump & steel heater pipe
Replaced track bar bushing
Replaced fuel pump
Replaced battery

With the two Mustangs that I also own (including the Wheeler Dealer project car that I'm trying to sell), I've hardly had time to wash the grease out from under my fingernails this year. :D
--
XJ 4.6 Stroker
Ri
Richard Moss
Rank: Junior

Fri Nov 16, 2012 8:42 pm

XJ 4.6 Stroker wrote:I've hardly had time to wash the grease out from under my fingernails this year. :D
The joke in my family is that the only time my hands are pink is when I'm on holiday

Return to “General 4X4 and Off-Road”

Who is online

Users browsing this forum: No registered users and 10 guests